Technical selection guidance
Develop a controlled bottle-sleeve heat window
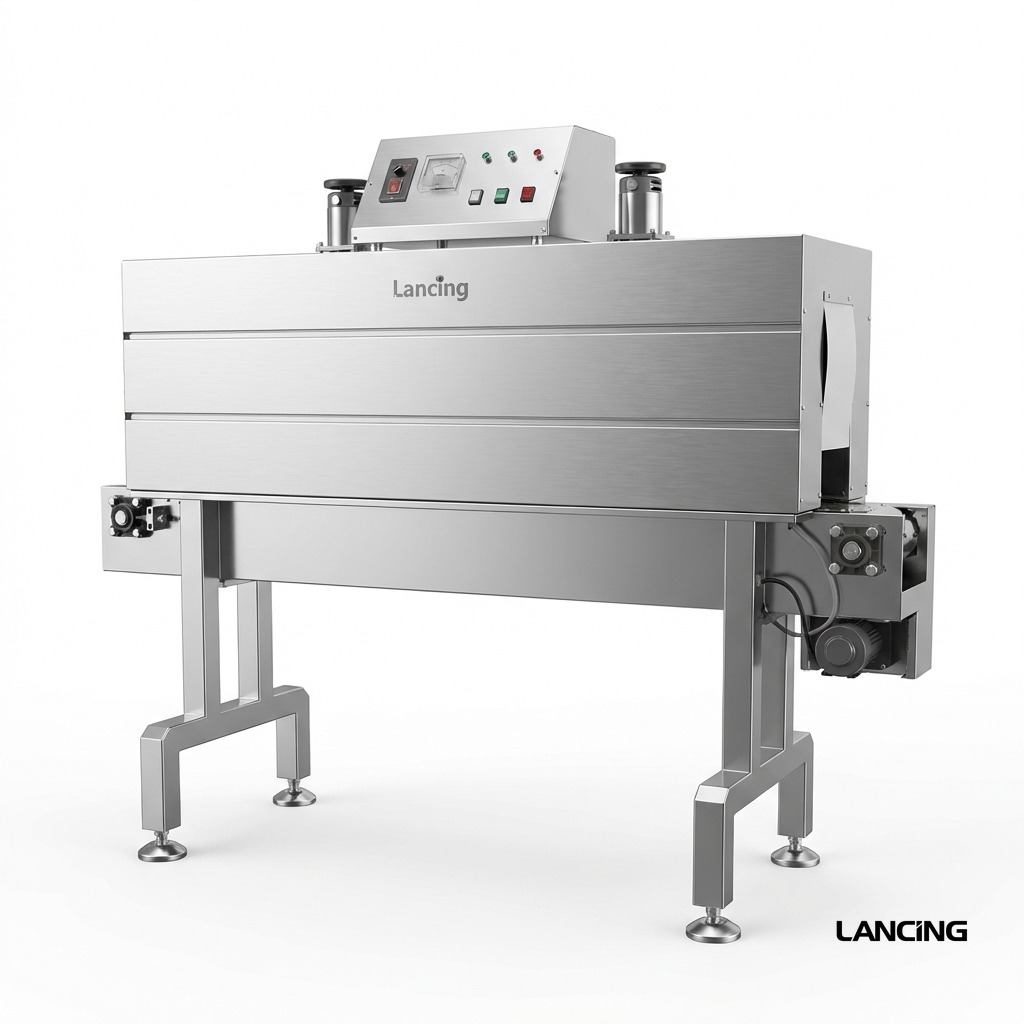
This conveyor heat-shrinking route is intended for bottle and container sleeve-label applications. Successful operation depends on accurate sleeve placement before the heat zone and balanced exposure around the complete container profile.
The published speed, heating and temperature information should be used only as equipment-range data. Production settings must be qualified with the actual bottle, closure, contents and sleeve.
Define the sleeve or label position
State whether the heat zone is shrinking a full-body label, shoulder sleeve, neck band or another local film component. Provide the required top and bottom position, permitted movement and an approved finished container.
Container ribs, shoulders, caps and handles alter how air reaches the film. A nominal body diameter is therefore insufficient for guide and heat-zone selection.
Protect the container, closure and contents
The page lists glass and plastic bottles and similar packs. Each container material, wall section, closure, liner, label and filled-product condition must still be assessed for heat sensitivity.
Run the most sensitive combination, including cold or empty containers if these occur in production. The acceptable recipe is one that shrinks the sleeve while remaining within the product and packaging limits supplied by the responsible parties.
Use speed and temperature as linked controls
The published conveyor range is 0–10 m/min and the listed temperature range is 0–250°C. These are machine ranges, not a universal bottle recipe. Effective exposure also depends on heated length, airflow, container spacing and product load.
Change one variable at a time during development. Record the lowest stable heat exposure that achieves the approved sleeve position and finish without damaging the container or print.
Control placement before tunnel entry
A sleeve that is high, low, folded or loose before the heat zone will not become correctly positioned simply by adding heat. Verify the applicator, manual placement method, conveyor transfers and guides before tuning the tunnel.
Where automatic sleeve placement is the main requirement, use the dedicated sleeve applicator site for that specialist intent.
Inspect the final position after cooling
Printed sleeves and tamper bands should be judged after the material has cooled and settled. Check print distortion, seam position, top and bottom edges, closure function and any evidence-of-opening requirement.
If inspection is automated, define the datum, tolerance and reject response. If inspection is manual, provide an approved sample and a clear decision rule for operators.
Technical questions buyers ask
Can glass and plastic bottles use the same recipe?
Not necessarily. Material, wall thickness, shape, contents, closure and sleeve can create different heat responses. Each representative container should be trialled.
What causes a sleeve to finish too low?
Check its position before heating, container vibration, sleeve fit, airflow direction and the shrink balance of the film. A placement issue should be corrected upstream.
Why is print distorted around a shoulder?
The sleeve is contracting over changing container geometry. Review artwork distortion compensation, sleeve construction, placement and the distribution of heat around the shoulder.
Should filled containers be used in trials?
Yes when filling changes weight, stability or heat response. Use the production condition and include the most heat-sensitive product or closure combination.
Can this machine be placed after an automatic applicator?
It can be assessed as part of a line where conveyor height, spacing, placement control, speed, guarding and reject logic are compatible.
What acceptance evidence should be supplied?
Provide approved final containers or dimensioned photographs showing sleeve position, print orientation, edge finish, closure condition and any tamper-evidence requirement.